
Initial Setup: Create Your Show Manager Page
After creating your EZ Show Manager account, you will be immediately directed to set up your show settings.
This setup only needs to be completed once and creates your public show page.

Step 1: Set Up Your Account Page
You’ll be prompted to enter the following:
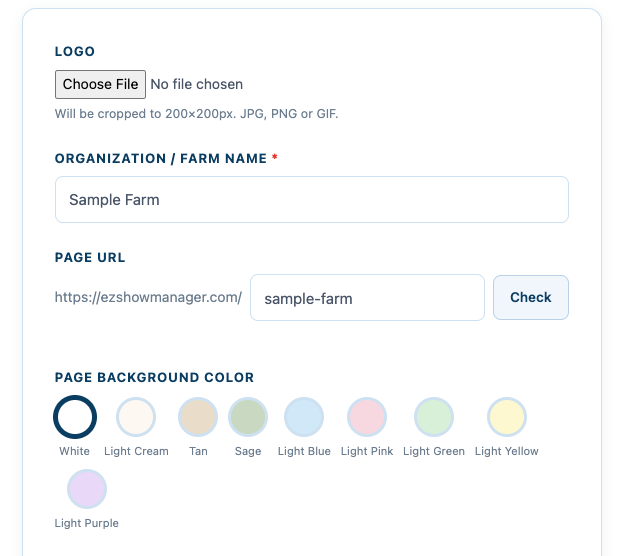
- Logo (Optional)
Recommended size: 200 x 200 pixels - Organization / Farm Name
This will display on your public page - Custom Page URL
Your page will auto-generate as:ezshowmanager.com/YourNameHereYou can:- Edit the name
- Check availability
- Page Background Color
Select a padding color that will surround your entry and results cards
Step 2: Health Record Requirements
Choose which health documents are required:
- Coggins
- Rabies
- EHV (optional)
👉 Important:
Whatever you select here will be required for ALL entries across ALL shows
This applies to:
- Entry forms
- Secretary tools
- Entry detail views
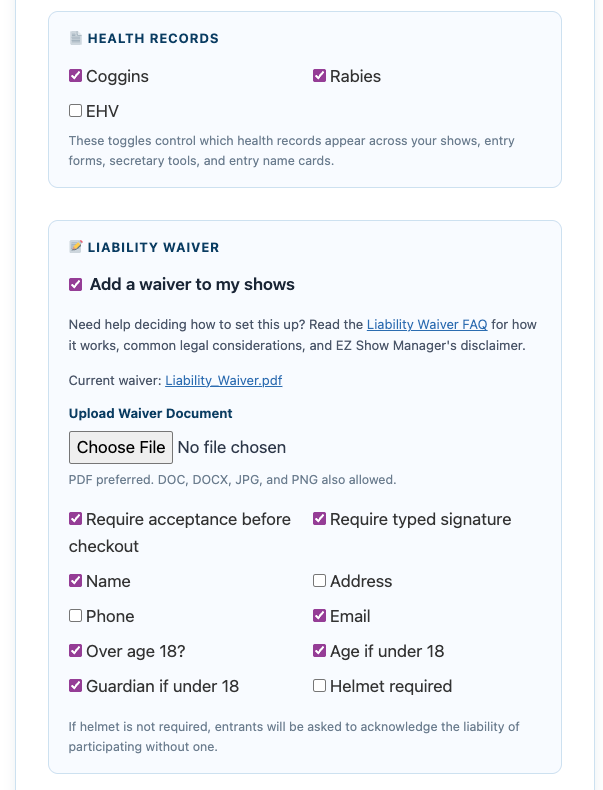
Step 3: Liability Waiver (Optional)
Enable digital waivers for all your shows:
- Upload your waiver document
- Require acceptance before checkout
- Require typed signature
- Select which fields to collect
👉 Important:
If enabled, the waiver will be required for every entry across all shows
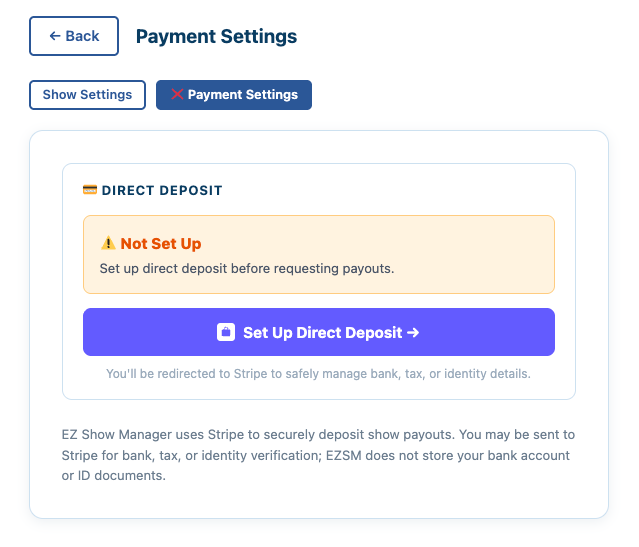
Step 4: Connect Stripe for Payouts
To receive payments Click on Payment Settings:

EZ Show Manager uses Stripe to securely handle online payments and direct deposit payouts.
Click Payment Settings and follow the Stripe setup process. Stripe may ask for business details, bank account information, tax information, or identity verification. This process can take several days to complete through verification steps. You can proceed with creating shows during this time.
If you see a red X, open Payment Settings and follow the button shown there,
- Set Up Direct Deposit
- Continue Setup
- Fix Payment Account.
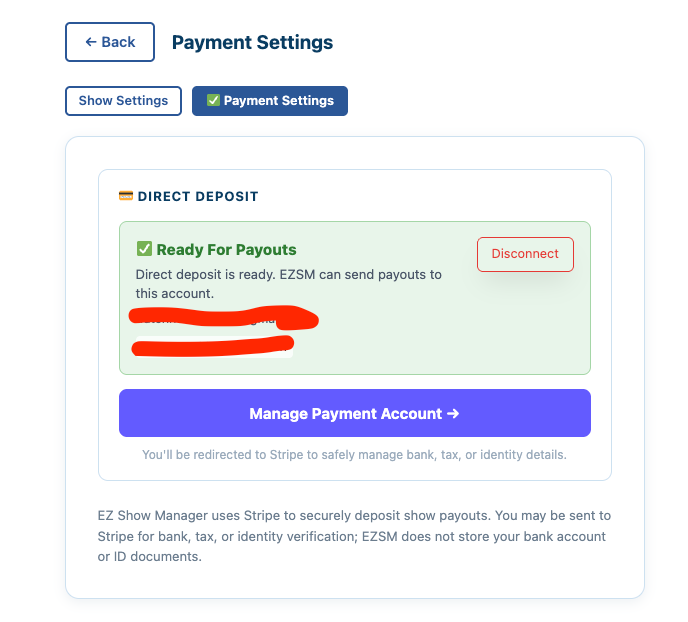
👉 When Stripe is fully completed you will see a green checkmark next to Payment Settings
Step 5: Save Changes
👉 Click Save Changes to apply your settings
What This Means
Ensures consistent requirements for all entries
Your settings apply globally to all shows
No need to reconfigure for each event