
Creating a Division/Class Show or Clinic
The Create New Show button is your starting point for building any event — whether it’s a traditional show or a clinic.
Step 1: Start a New Show
Click Create New Show from your Show Manager dashboard.
This is your one-stop location to create:
- Divisional/Class
- Clinics
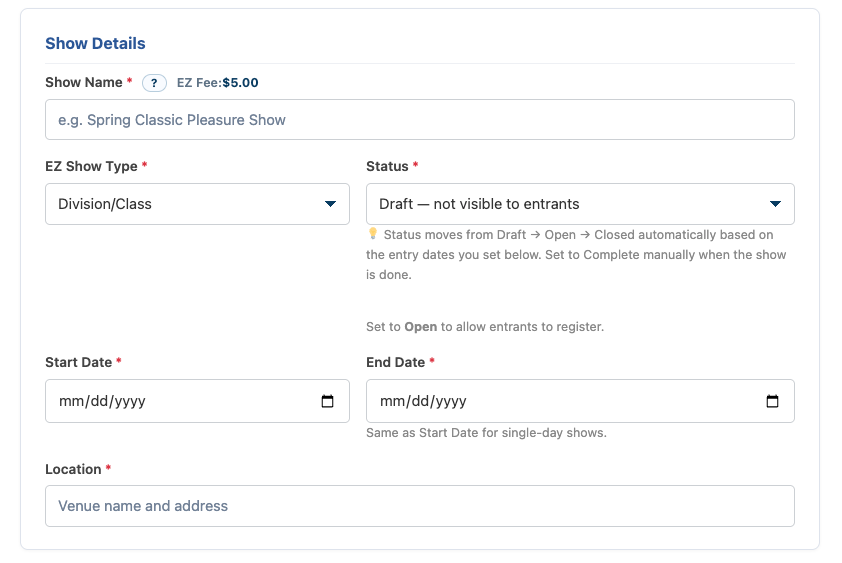
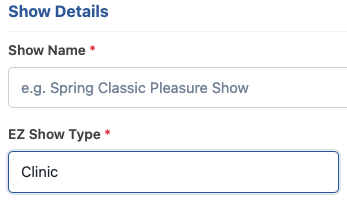
Step 2: Enter Show Details
Fill in the core information for your event:
- Show Name
- Show Type
- Division/Class
- Clinic
- Status
- Defaults to Draft
- ⚠️ Recommended to leave as Draft
- Start & End Date
- For a one-day show, use the same date
- Location
- Enter the full address of the show grounds
Step 3: Configure Entry Settings
This section will adjust based on the Show Type you selected.
For Division/Class Shows
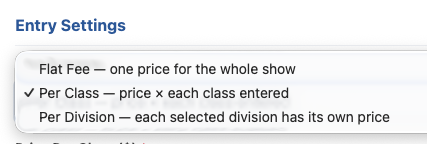
Pricing Model
Choose how exhibitors are charged:
- Price Per Class (Default)
Exhibitors pay per class entered - Flat Fee
One price regardless of number of classes - Price Per Division
Sign up for a specific division which will include all classes within it
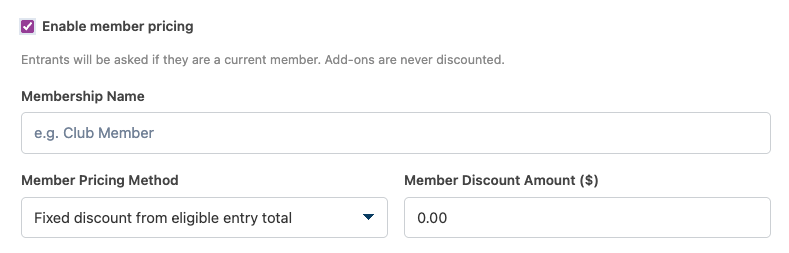
Enable Member Pricing
Toggle the enable member pricing if you would like to offer club members either a fixed discount or % discount off of entry fees (will not discount Add-ons). Keep in mind EZSM has no method of verifying if the entry is in fact a member so this is fully on the honor system.
Max Entries
- Default: 0 (Unlimited)
Entry Open & Close Dates
- Set when entries will be accepted
⚠️ Important:
Once entries go live, your show becomes locked for editing
👉 Recommendation:
Set your entry open date in the future while building your show
Step 4: Choose Class Structure
Select how your classes are organized:
Division & Classes
- Group classes into divisions
- Example:
- Walk/Trot
- Open
- Added Classes
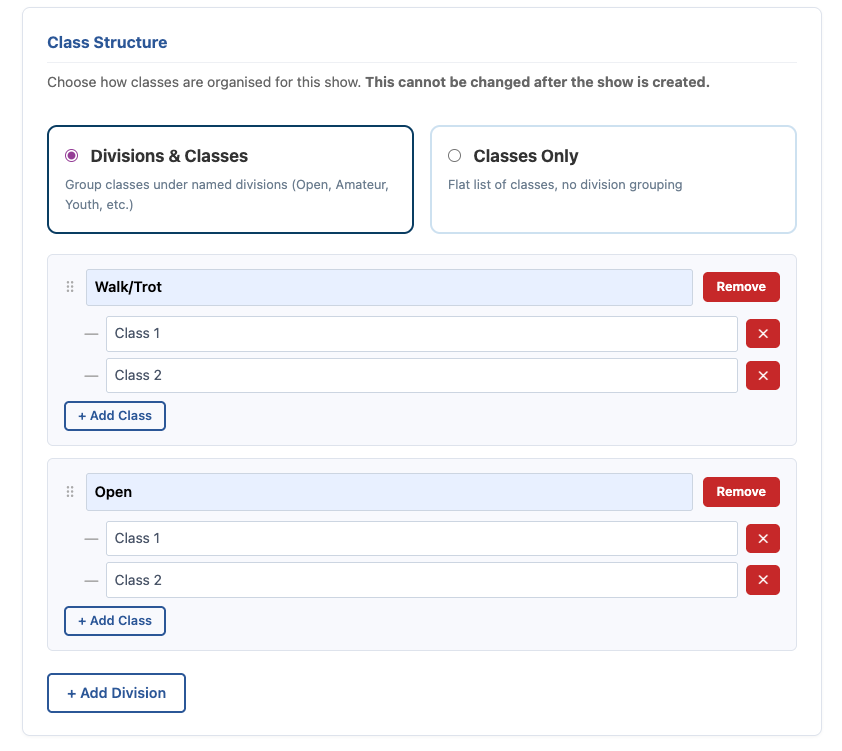
Classes Only
- No divisions
- Simple list of classes
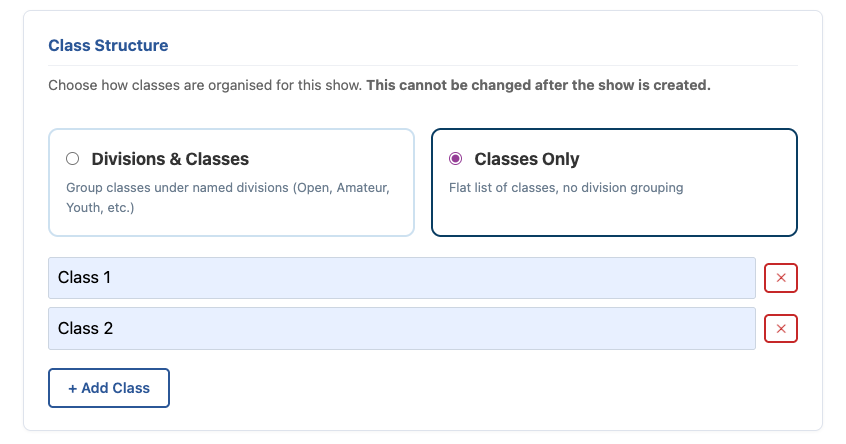
Add Your Classes
- Create and name your Divisions and/or Classes
- Build out your full show structure
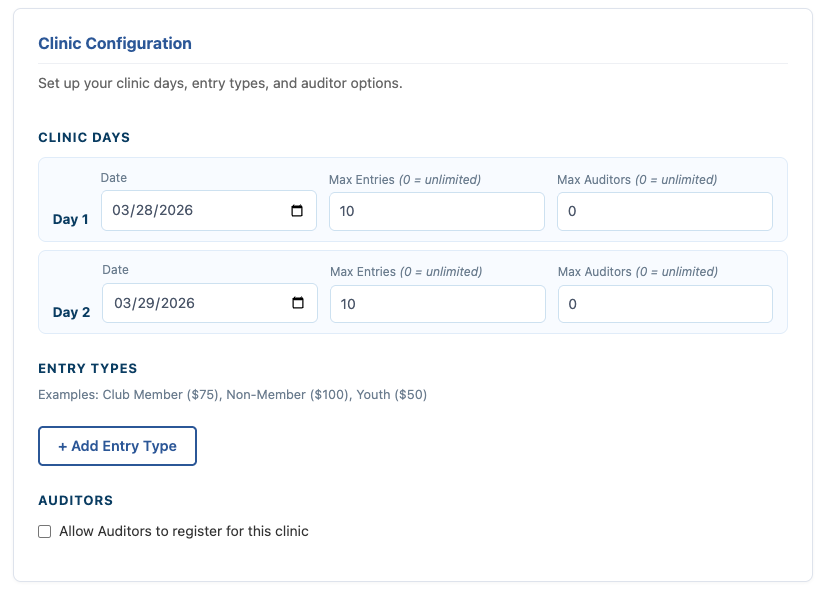
Clinic Specific Details
- Set your Max Entires or Auditors for each day of clinic
- Add Entry type (Example 1 price for Members another for Non-Members)
- Checkbox if you WANT to allow auditors to register for the clinic
- note if you set your auditor price to zero and an auditor does not choose any other paid add-ons at checkout. No EZ fee is collected and the system acts like a free RSVP list

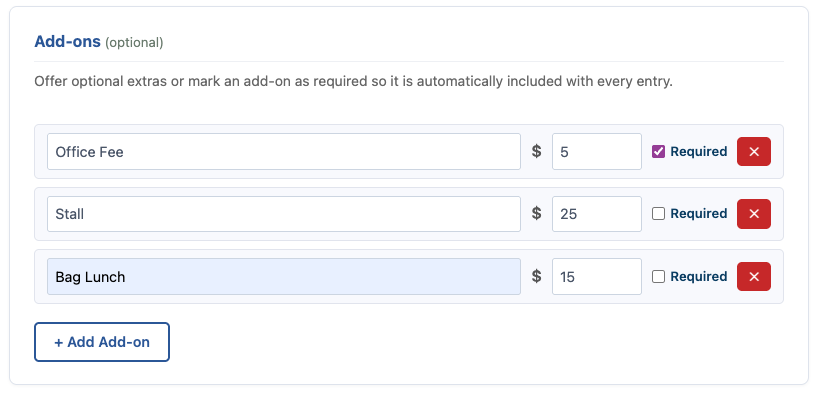
Step 5: Add Paid Add-Ons (Optional)
You can offer optional purchases such as:
- Stall Fees (e.g., $25)
- Bagged Lunches
- BBQ Dinner
- Non-Member Fees
You control:
- Name
- Price
- If a Add-on is required and must be paid by all entries
Step 6: Assign a Show Secretary
By default:
- The Show Manager is also the Secretary
You can assign someone else:
- Enter their email address
- Click Check

- If they exist → they’re assigned
- If not → they’ll receive an invite to register
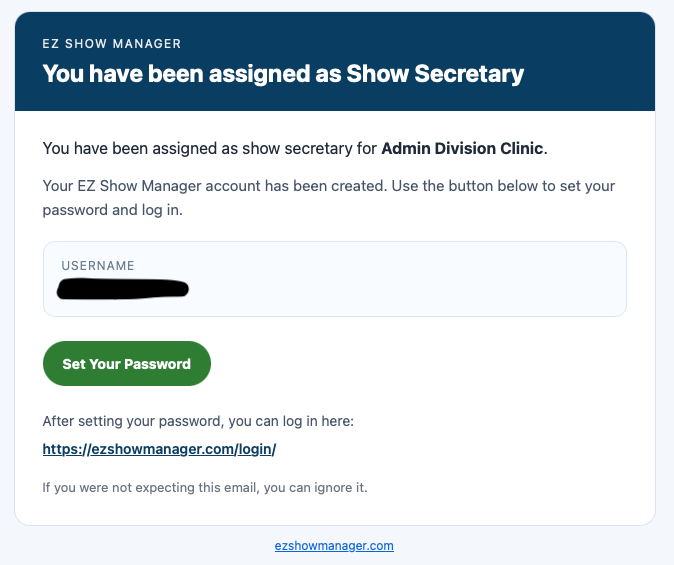
✅ No additional cost for secretaries – they will receive the following email to set their password and sign into their dashboard.
👉 You always retain access to the Secretary Dashboard
Step 7: Create Your Show
Click Create Show
You will receive a warning:
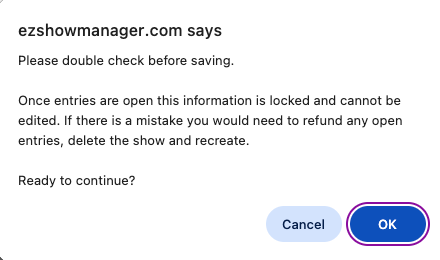
⚠️ Once entries go live, your show settings are locked
👉 Double-check all details before submitting
You’re Ready
Your show is now created and ready for the next steps:
- Opening entries
- Managing exhibitors
- Running your event